
This post is one in a series following six brewers collaborating to each make a small adjustment to a single recipe in order to improve it, then pass it along to the next brewer. We hope to learn more about the art of recipe creation as we see how other brewers approach the same recipe. The rest of the series can be found here.
Author: T. Bowen
Brew Day
I was scheduled to brew by January 6. Never one to be completely on schedule all the time, I brewed the day after my deadline. Sunday mornings have become a brew day for me, more often than not, plus I was procrastinating since I was not looking forward to brewing outside in 25°F weather. I’m used to sweating on brew days, not warming my hands by the propane heater every chance I got. Although, with this being a stout without any long hopstands and/or whirlpools, I was confident I could knock this out in less than four hours.
I’ve been battling mash temps for quite some time now. I brew on a straight forward system: 10 gallon orange Igloo mash tun with a false bottom, converted keggle HLT, and a 10 gallon boil kettle. The biggest problem I’ve been having is hitting my target mash temps. I’ve tried preheating my mash tun with hot (~130°F) tap water while the strike water was heating; I’ve tried overheating my strike water 10°F+; I’ve tried just preheating with strike water. All of that, and I’m still fighting that fight.
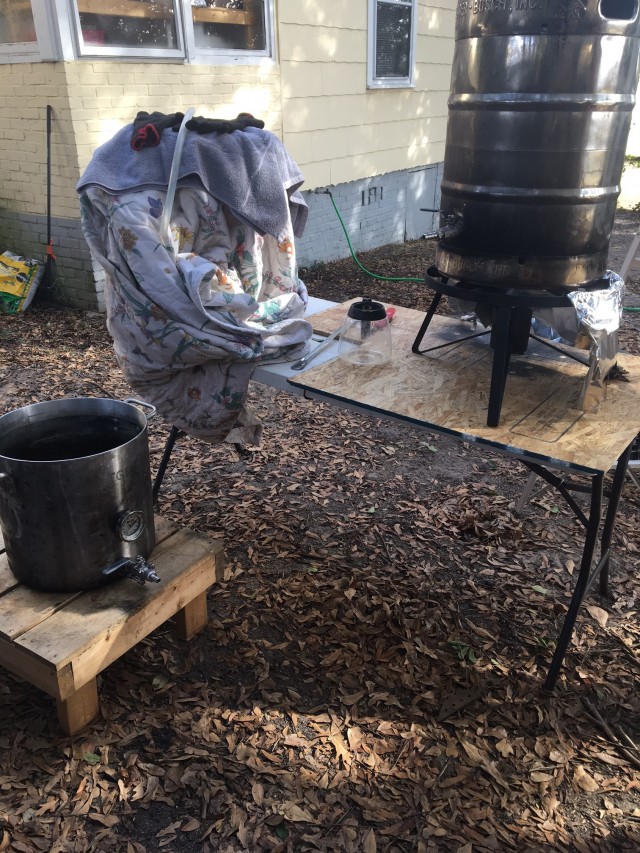
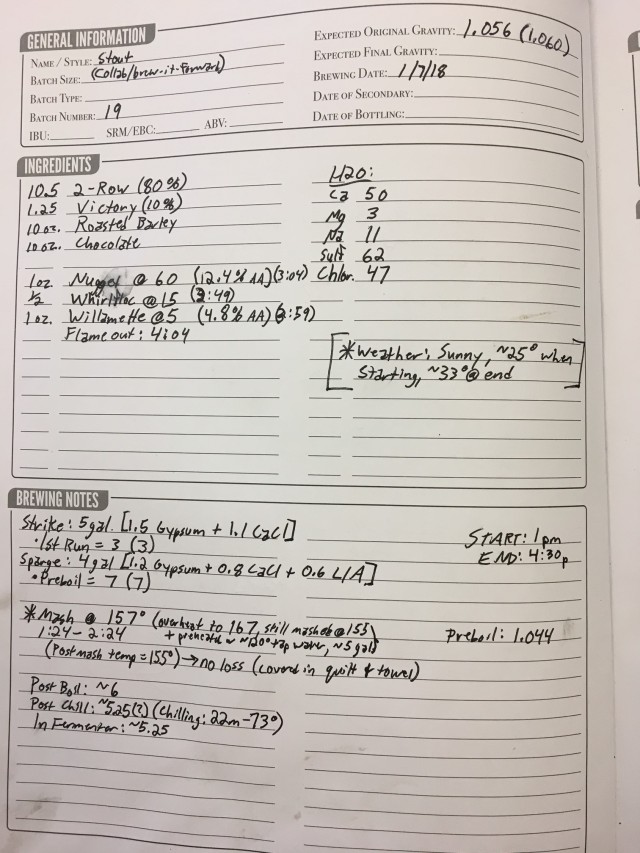
For this brew day, especially with the freezing temps, I tried a concerted effort of all tactics. First, before getting the strike water going, I added about 5 gallons of hot tap water to the mash tun and sealed it up to preheat. Also of note, my grains (already milled) had been sitting inside the house since picking them up on Saturday. Next I got my water salts weighed out, added to the strike water, and lit the burner shooting for about 168°F (target mash temp was 157°F). In about 20 minutes or so, I was at 168-170°F on my strike water. I then emptied the mash tun of the preheat water, dumped in all my strike water, and sealed it up while I ran inside the grab the grains. I was back outside adding grains to the mash tun within the next 2-3 minutes. I added the grains and stirred to break up dough balls and thoroughly incorporate the grains. Once I got it mixed to my satisfaction, I checked the mash temp…155°F. I missed it once again! Oh well, I thought, I guess I’m mashing this at 155°F. So I sealed it up, covered it in towels and a quilt, and let it rest for 60 minutes.
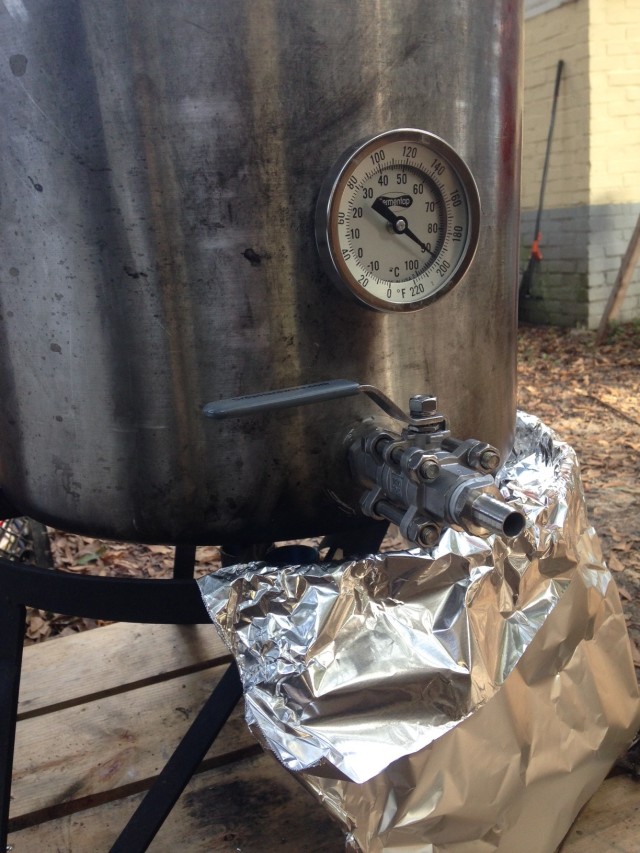
While I was mashing, I took the time to install some upgrades on my boil kettle. Since I started brewing, my boil kettle has been just a 10 gallon pot with some volume markings I etched. But I finally picked up a thermometer and bulkhead and 3-piece ball valve and bulkhead. Sometimes the smallest additions to your brewery can make some of the biggest differences in your brew days. These two additions made this brew days much easier and I’m looking forward to many more of these easier brew days with these additions.
Thankfully, after the 60 minute mash, I checked temps again and I was still dead on 155°F. Great. I can hold temps, I just can’t hit temps. I then proceeded to vorlauf and sparge and hit my numbers with a preboil volume of 7 gallons. The boil was rather uneventful and the rest of the day went off without a hitch…for the most part. I’m usually pretty dead on my gravity number, typically within one or two points. But today I was four points off. My estimated OG was 1.056. My actual OG came in at 1.060. Of course, I would always rather over- than under-shoot my gravity. But I was still curious what caused the higher gravity, especially since I hit all my volume numbers. I always set my efficiency at 65% when calculating recipes. So either I’m getting more efficient, or possibly my grain bill was not exactly what I ordered? Either way, 1.060 compared to 1.056 is not a big enough variance to cause me to lose any sleep. I proceeded to chill down to about 70°F in about 20 minutes, which is about the only time all day I was thankful for the freezing temps—I even had to thaw out the outside spigot to get water flowing for my immersion chiller. Finally, I racked about 5.25 gallons into my 7 gallon Fermonster, hit it with about 15 minutes of oxygen (air stone with pump), pitched the yeast, and finally sat down at the fireplace to warm my freezing hands and feet.
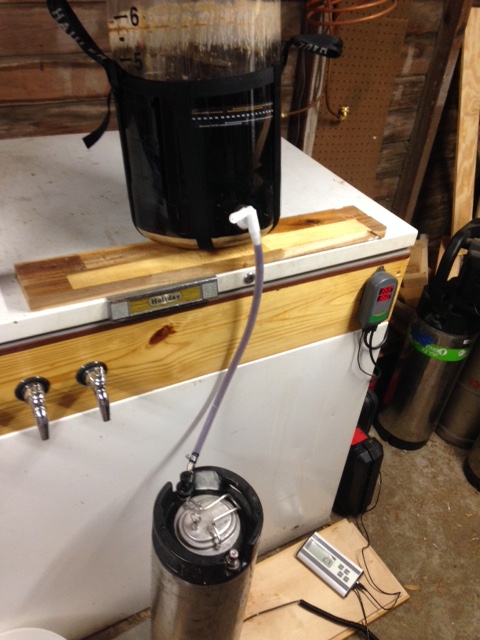
Fermentation was fairly mundane. I ran a blowoff tube when I pitched yeast because that’s pretty standard practice for me. Moreover, I had not used US-05 in over a year, and I couldn’t remember if it was a vigorous fermenter or not. Thankfully, the blowoff was not needed as I had plenty of headspace in the 7 gallon Fermonster. I cold crashed 10 days after pitching yeast when the gravity had slowed down to 1.016. Even though I mashed a hair lower than I planned, the beer still finished high enough to have some residual sweetness to balance the roast. I kegged right at 5 gallons two days later.
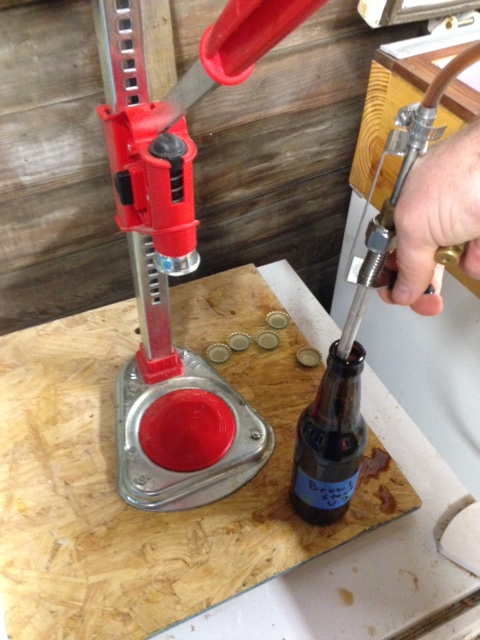
When I got ready to bottle, I realized I was missing an important piece for my redneck engineered bottling gun. When I don’t feel like setting up my beer gun, I typically use the popular method of a racking cane in a picnic tap with a #2 stopper as a pseudo counter pressure filler. But the #2 stopper was nowhere to be found. Not wanting to pass on beer that could end up being flat and/or oxidized, I begrudgingly got out the beer gun and bottled with it.
Recipe
First things first, I was more impressed with Iteration 1 of this beer than I thought I would be. That’s not an indictment on the brewer at all, but rather a testament to the fact that I tend to gravitate more towards stouts with some sort of adjunct as opposed to straight up stouts. The beer poured with little to no head. The beer was fairly carbonated in the mouthfeel, at least enough for my palate. But the head was virtually non-existent, save for some light, wispy foam on the surface which faded quickly. When I received the beer from the previous brewer, he had just bottled it that week. Therefore, I let it sit at least 2.5 weeks in my “cellar” before opening, and subsequently opened another bottle after 3 weeks. This time of year, my house sits around 67°F, so that could have hindered the bottle conditioning as well.
The nose on the beer had a touch of coffee with a slightly heavier blanket of espresso over the top. It’s interesting that there was no lactose in this beer, but the nose also had a milky-like sweetness to it. It’s very inviting, almost like chocolate milk and espresso got together and had a baby.
Overall, the body was a little lacking, i.e., it’s a little thinner on the palate than the nose lends. But, the most interesting part of this beer was how it changed as it warmed up. I like to drink my stouts very slowly so I can really let it open up and bring out subtle nuances. Initially, the first few tastes when it was cold tilted the beer more towards a porter than a stout. I got some nicely balanced dark chocolate bitterness on the back end. But as it warmed up, I started to get some heavy dark chocolate sweetness, if that makes sense, on the front end. Overall, a nicely done beer that really gets better the longer you enjoy it and let it open up.
When it came time for me to draft my recipe, I wrestled with decisions more so than I thought I would. I had a couple goals in mind with my recipe. For starters, I wanted more body in the beer. Additionally, I wanted to ramp up the chocolate notes which would, hopefully, also prop up some of the espresso in the background. I was hopeful I could get more body my mashing a little higher and hopefully have the beer finish a little higher than the previous version.
I knew I was likely keeping the base malts (2-Row and Victory) and hops (Nugget and Willamette) the same. So I really just had to decide what to do with the roast malts. First, I considered subbing in Carafa III Special for the Carafa III. Typically, I prefer to use Carafa III Special for color in my stouts. Carafa III Special is dehusked and, in my opinion, is a little smoother and not as roasty as regular Carafa III. Ultimately, I decided against that change because I didn’t feel it would make a drastic enough difference to accomplish what I was after. Next, I considered subbing out the Roasted Barley for Chocolate Malt to boost up the chocolate notes and dial back the roast flavor, which would hopefully boost the mouthfeel a bit. I decided against this because I felt it would be too drastic of a change and it would have too little roast. I even considered subbing out Victory for Flaked Oats because, well, I absolutely love Flaked Oats and they always provide a nice pillowy mouthfeel. I decided against this as well because I kept coming back to the roasted malts. Finally, I decided on outright dropping the Carafa III and subbing in some Chocolate Malt in hopes of the Roasted Barley and Chocolate Malt getting together and having a grand old time and giving me what I was hoping for. With all of that said, here’s what I landed on:
- Mashed at 155°F for 1 hour (targeted 157°F)
- 80% 2-Row
- 10% Victory
- 5% Roasted Barley
- 5% Chocolate
- Boiled for 1 hour
- 1 oz. Nugget (60 min) at 12.4% AA (42.5 IBUs)
- 1 oz. Willamette (5 min) at 4.8% AA (3.3 IBUs)
- Water Profile (ppm): [Black Balanced] Calcium (50); Magnesium (3); Sodium (11); Sulfate (62); Chloride (47)
- Pitched US-05 (one packet; rehydrated)
- OG (target): 1.056
- OG (actual): 1.060
- FG (actual): 1.016
- ABV: 5.8%
- Kegged, force carbed, bottled with beer gun
Tasting
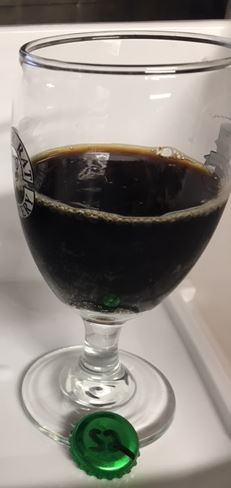
Version 2 pours very dark, as well it should. Not much to discuss on the color. Some light foam on the surface that builds slightly as it sits, then fades to a few wispy bubbles on the surface. At first whiff, the nose had a heavy yeasty blanket to it. It wasn’t entirely off-putting, but it was a little surprising. As I dove my nose deeper into the beer, the yeasty notes morphed into a milky nose which was admittedly more pleasant than the yeast bomb at first. The more I smelled it, the more roasted milky notes came out. This beer almost had a smoky note to the flavor, which I guess I could attribute to the roasted barley and chocolate malt. More chocolate seemed to come to the front of the palate as the beer warmed. In addition to more chocolate notes, the beer put off more espresso notes as it warmed as well. Version 2 seems to have a fuller, creamier mouthfeel than Version 1, which could easily be attributed to the higher finishing gravity (1.016 vs. 1.010). Overall, this is a solid beer that I think could be improved with some adjuncts. In fact, after bottling beers from the keg for this project, I racked the remainder onto espresso beans, vanilla beans, and cacao nibs.
What I Would Change
I have a few thoughts on improving this beer if I were to brew it again. For starters, I’d like to include some flaked oats in the grist. I’m a big proponent of flaked oats in my stouts. I love the fuller creamier mouthfeel they provide while staying out of the way of the darker grains. While Version 2 had a fuller, creamier mouthfeel than Version 1, it still wasn’t exactly where I wanted it to be. Additionally, I think Version 2 needs more chocolate flavors to balance some of the roasted notes. The roasted notes are not overpowering, but they come across a little smoky and could probably be tamped down some with some softer chocolate notes.
Recipe Progression
| Iteration 1 | Iteration 2 | |
| Base Malt 2-row | 80% | 80% |
| Specialty Malt 1 | 10% Victory | 10% Victory |
| Specialty Malt 2 | 5% Roasted Barley | 5% Roasted Barley |
| Specialty Malt 3 | 5% Carafa III | 5% Chocolate Malt |
| 60 min. hop | Nugget: 47.7 IBUs | Nugget: 42.5 IBUs |
| 5 min. hop | Willamette: 3.3 IBUs | Willamette: 2.9 IBUs |
| Yeast | US-05 | US-05 |
| OG | 1.054 | 1.060 |
| FG | 1.010 | 1.016 |
| ABV | 5.8% | 5.8% |
Pingback: Stout: Iteration 8 | brewublog